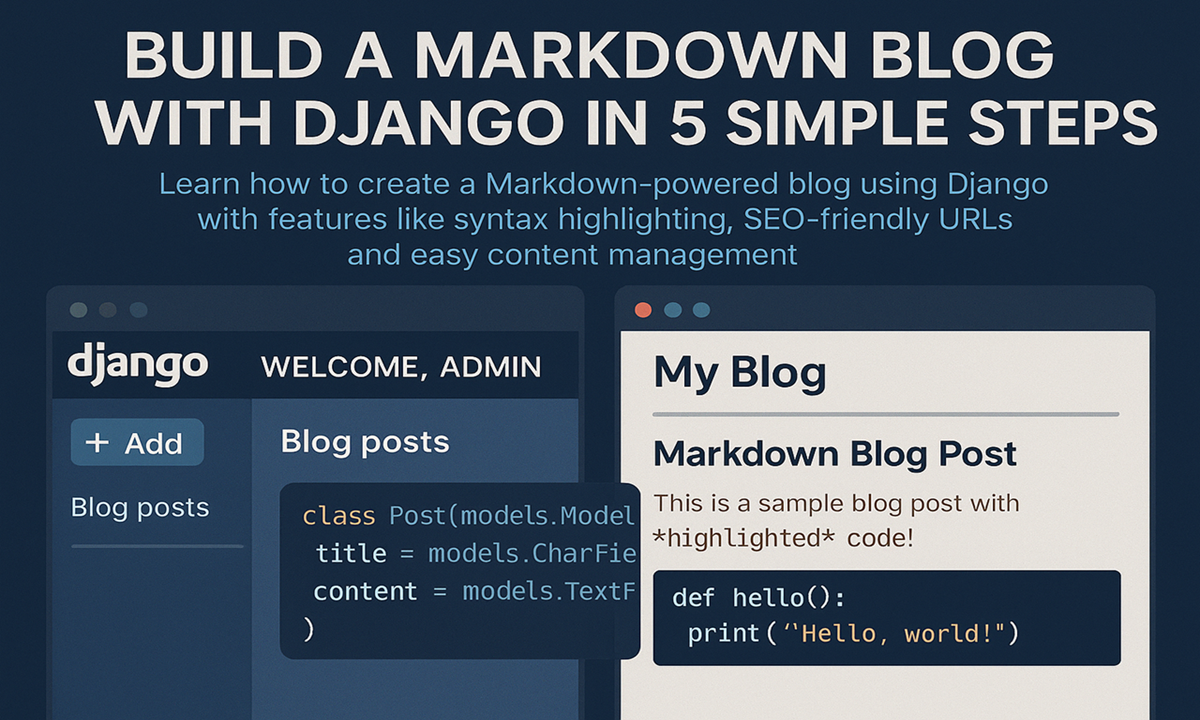
Why Build a Markdown Blog with Django?
Markdown has become the go-to formatting language for developers and writers alike. When combined with Django's powerful framework, you get a fast, flexible blogging platform that's perfect for technical content. In this tutorial, we'll build a complete Markdown blog with Django from scratch.
Prerequisites
- Python 3.8+ installed
- Basic Django knowledge
- Pipenv or virtualenv (for virtual environment)
Step 1: Set Up Your Django Project
First, create and activate a virtual environment, then install Django:
# Create and activate virtual environment
python -m venv venv
source venv/bin/activate  # Linux/Mac
venv\Scripts\activate     # Windows

# Install Django
pip install django

# Create project and app
django-admin startproject markdown_blog
cd markdown_blog
python manage.py startapp blog
Configure Basic Settings
Add 'blog' to INSTALLED_APPS in settings.py:
INSTALLED_APPS = [
    ...
    'blog',
    'django.contrib.humanize',  # Optional for date formatting
]
Step 2: Create the Blog Models
We'll need models for posts and categories. Edit blog/models.py:
from django.db import models
from django.utils.text import slugify

class Category(models.Model):
    name = models.CharField(max_length=50)
    slug = models.SlugField(unique=True)

    def save(self, *args, **kwargs):
        self.slug = slugify(self.name)
        super().save(*args, **kwargs)

class Post(models.Model):
    title = models.CharField(max_length=200)
    slug = models.SlugField(unique=True)
    content = models.TextField()
    excerpt = models.CharField(max_length=300, blank=True)
    created = models.DateTimeField(auto_now_add=True)
    updated = models.DateTimeField(auto_now=True)
    published = models.BooleanField(default=False)
    category = models.ForeignKey(Category, on_delete=models.SET_NULL, null=True)

    def save(self, *args, **kwargs):
        self.slug = slugify(self.title)
        super().save(*args, **kwargs)
Step 3: Add Markdown Support
Install the required packages for Markdown processing:
pip install markdown pygmentsCreate a Template Filter
Add a new file blog/templatetags/markdown_extras.py:
from django import template
import markdown
from pygments import highlight
from pygments.lexers import get_lexer_by_name
from pygments.formatters import HtmlFormatter

register = template.Library()

@register.filter
def markdown_format(text):
    return markdown.markdown(text, extensions=[
        'fenced_code',
        'codehilite',
        'tables',
        'toc'
    ])
Step 4: Create Views and Templates
Post List View
Add to blog/views.py:
from django.shortcuts import render
from .models import Post

def post_list(request):
    posts = Post.objects.filter(published=True).order_by('-created')
    return render(request, 'blog/post_list.html', {'posts': posts})
Post Detail View
from django.shortcuts import get_object_or_404

def post_detail(request, slug):
    post = get_object_or_404(Post, slug=slug, published=True)
    return render(request, 'blog/post_detail.html', {'post': post})
Base Template
Create templates/blog/base.html:
<!DOCTYPE html>
<html>
<head>
    <title>{% block title %}My Markdown Blog{% endblock %}</title>
    <style>
        {{ pygments_css|safe }}
    </style>
</head>
<body>
    {% block content %}{% endblock %}
</body>
</html>
Step 5: Configure URLs and Admin
URL Configuration
Add to blog/urls.py:
from django.urls import path
from . import views

urlpatterns = [
    path('', views.post_list, name='post_list'),
    path('<slug:slug>/', views.post_detail, name='post_detail'),
]
Admin Interface
Register models in blog/admin.py:
from django.contrib import admin
from .models import Post, Category

class PostAdmin(admin.ModelAdmin):
    list_display = ('title', 'created', 'published')
    prepopulated_fields = {'slug': ('title',)}

admin.site.register(Post, PostAdmin)
admin.site.register(Category)
Bonus: Adding Features
- Syntax Highlighting: Already included via Pygments
- SEO Optimization: Add meta tags and sitemaps
- Tagging System: Implement with django-taggit
- Search Functionality: Add with Django's search framework
Conclusion: Your Markdown Blog is Ready!
You've now built a fully functional Markdown-powered blog with Django. This setup gives you:
- Clean, readable content formatting
- Code syntax highlighting
- SEO-friendly URLs
- Easy content management through Django admin
Next Steps: Consider adding user authentication, comments, or deploying to platforms like Heroku or PythonAnywhere.
Have questions or want to share your implementation? Leave a comment below!